
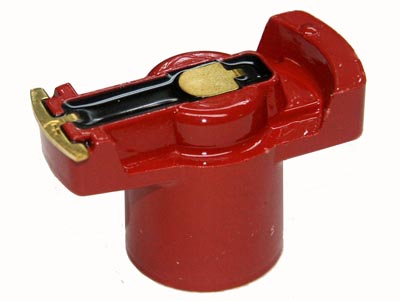
When changing your cap and rotor on your 92 VR6, don't forget to glue the rotor and set screw just like the service manual says to. Who would have thought someone would build a distributor with a set screw and not have a flat spot on the round shaft for the set screw!?
Performed a full tune up on my 92 Corrado with plugs, cap and rotor, fuel filter, new wires and oil and filter change. the car always ran strong even with 155k miles on it. after the tune up it ran even stronger. Car quit running one day and i thought, based on engine cranking noise, that the timing chain slipped. After numerous trouble shooting tips and blog searches, everything lead me to the fuel pump.
However, after reading the service manual trouble codes it indicated a spinning rotor. Sure enough, pulled the cap off, the set screw fell out and low and behold the rotor was spinning. Set the engine to TDC and installed the rotor with the glue called out in the service manual and the car once again runs like a champ.
First time rado owner and these cars are GREAT. Love the challenge and the performance.
Note: due to a website crash, I've lost the author information for this article.
If you are the author, please get in touch! - Webmaster

")


No comments have been posted yet...
Want to leave a comment or ask the owner a question?
Sign in or register a new account — it's free